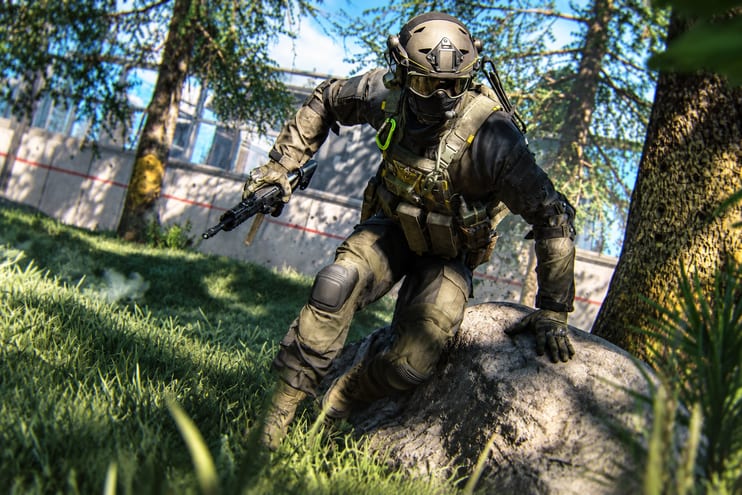
The best MW4 DMZ skill tree depends on what you want an Operator to do. A solo survivor needs different Traits from a Scout who gathers supplies or a squad anchor who handles revives.
Each Operator can earn 18 Trait Points before reaching Onyx III. Points belong to the Operator that earned them, and selected Traits cannot be swapped freely. A full 18-point plan matters: trying to combine every standout Trait across all three trees exceeds the limit.
How DMZ Trait Trees Work
DMZ has three Trait trees:
| Tree | Best suited to |
|---|---|
| Warfighter | Gunfights, equipment and combat recovery |
| Scout | Loot, cash, UAVs and field crafting |
| Survivalist | Revives, consumables and extraction recovery |
Each tree has 22 Traits: six visible Major Traits and 16 randomized Minor Traits. The first point in a tree grants a random Minor Trait. Spend another point to move through each branch; a Major Trait choice can appear at key branch points, while Minor Traits depend on the Operator’s roll.
An Operator can earn up to nine Traits in one tree. With 18 points total, you can fully develop two trees or split points across all three. Traits you select are locked in until you Prestige the Operator. Prestige resets the tree and grants a random permanent Prestige Trait, so treat it as a reset with a separate long-term reward.
Trait Points come from leveling the Dog Tag of the Operator you take on deployment. Successful exfils award DMZ XP; each Dog Tag level gained awards a Trait Point. Your overall DMZ Player Level is separate from an individual Operator’s Dog Tag progression.
- Select the Active Duty Operator you want to develop at the FOB.
- Deploy with that Operator and earn DMZ XP.
- Exfil to apply Dog Tag progression.
- Return to the FOB and open that Operator’s Trait menu.
- Check the visible Major Trait options, then spend the point that advances your planned role.
Resources and extracted items are shared across Active Duty Operators, but Trait Points are not. That makes a dedicated Scout useful for collecting supplies for another Operator without transferring its skill progression.
Solo Survival Build: Survivalist and Warfighter
A practical 18-point solo plan is nine points in Survivalist and nine in Warfighter. It gives the Operator access to recovery options in both trees while staying within the point cap.
In Survivalist, consider Faster Revive or Consumable Duration at the first Major choice, then Free Revive or Impact Smokes at the next, and Die Hard or Numb the Pain at the final Major choice. For solo play, Free Revive and Die Hard can support recovery and extraction.
In Warfighter, Quick Fix supports repeated fights, while Possum provides a once-per-match chance to enter Last Stand after death. Possum has an activation restriction: it cannot activate while the squad that killed you is nearby, or until its failsafe period has passed.
This build does not include Scout’s Thermal Padding. If avoiding standard UAV detection is more important than Possum or Quick Fix, use a different 9+9 split: invest nine points in Scout and nine in Survivalist, then choose Thermal Padding, Free Revive and Die Hard where the available Major options allow.
Scout Loot Build: Scout and Survivalist
For an Operator focused on loot and information, spend nine points in Scout and use the remaining nine in Survivalist or Warfighter, depending on whether the Operator supports recovery or combat.
Scout Major choices include:
- Container Looter or Hostile Looter for gathering supplies.
- UAV Upgrade or Field Crafting for information or deployment crafting.
- Overwatch or Thermal Padding for persistent UAV coverage or concealment.
Minor Traits are randomized, so do not plan around a specific Minor Trait appearing on every Operator. Choose the Major Traits that support your route, then treat useful Minor rolls as bonuses rather than requirements. The official descriptions identify Investor, Hostile Looter, Container Looter, UAV Upgrade, Overwatch and Field Crafting as Scout options.
Pick Field Crafting when you expect to use Common Printer Resources during a deployment. Choose UAV-related options when your squad plans to gather information and act on it. Thermal Padding is better for moving between objectives with less exposure to standard UAVs.
Squad Anchor Build: Survivalist With a Second Tree
A squad anchor should be the Operator most likely to revive teammates, carry recovery supplies and manage the final extraction. Spend nine points in Survivalist and use the other nine for Warfighter combat support or Scout information tools.
Survivalist choices include Faster Revive, Consumable Duration, Free Revive, Impact Smokes, Numb the Pain and Die Hard. For a rescue-focused role, prioritize faster revives and downed-state support. Die Hard can help when an Operator reaches exfil in Last Stand, while Impact Smokes can create cover after a down.
Pair Survivalist with Warfighter if the anchor frequently joins fights. Pair it with Scout when the squad needs UAV support or a safer route between objectives.
UAV and Thermal Padding Rules
Thermal Padding hides an Operator from standard UAVs and UAV Towers, including those upgraded through UAV Upgrade. AUAV Fire Support still detects Operators using Thermal Padding. A November 16, 2026 update also fixed an issue that could expose protected Operators to upgraded enemy UAVs.
Thermal Padding is therefore a concealment tool, not universal invisibility. Use it for rotations and objective movement. Choose UAV Upgrade when the Operator’s job is to reveal information for the squad; avoid spending points on overlapping roles unless the planned build has room for both.
Match Traits to the Operator’s Loadout
| Operator role | Loadout direction | Trait focus |
|---|---|---|
| Solo infiltrator | Suppressed rifle or mobile SMG, smoke and healing | Survivalist recovery with Warfighter support |
| Scout | Stable rifle, UAV support and space for ingredients | Scout looting, crafting or information |
| Combat opener | Close-range weapon with a reliable mid-range option | Warfighter equipment and health recovery |
| Squad anchor | Accurate rifle, reserve ammunition and revive supplies | Survivalist revives and extraction tools |
For a squad in the Hajin Exclusion Zone, spread responsibilities across Operators. One can gather resources and operate information tools, another can lead engagements, and a third can focus on revives and extraction. Their extracted cash and materials are shared, but each Operator develops its own Traits.
Practice and Loadout Preparation
Practice the weapon handling and equipment timing you expect to use in DMZ before committing a geared Operator to a deployment. CoD MW4 Bot Lobbies can be a separate setting for rehearsing aim and movement. Players searching buy CoD MW4 Bot Lobby can keep that practice separate from DMZ Trait progression; DMZ Trait Points come from the Dog Tag progression of the Operator you deploy.
Plan the Full 18 Points Before Spending
Write down the Operator’s role and choose a nine-point focus tree before deployment. Then decide where the remaining nine points will go: a second fully developed tree offers more focused Major Traits, while splitting points across all three gives broader access with fewer deep-branch choices.
Check the Major Trait options displayed for that Operator before confirming a point. Minor Traits are randomized, and once a Trait is chosen it stays locked until the Operator is Prestiged. That makes a role-based 18-point plan more reliable than trying to collect every popular Trait on one build.
